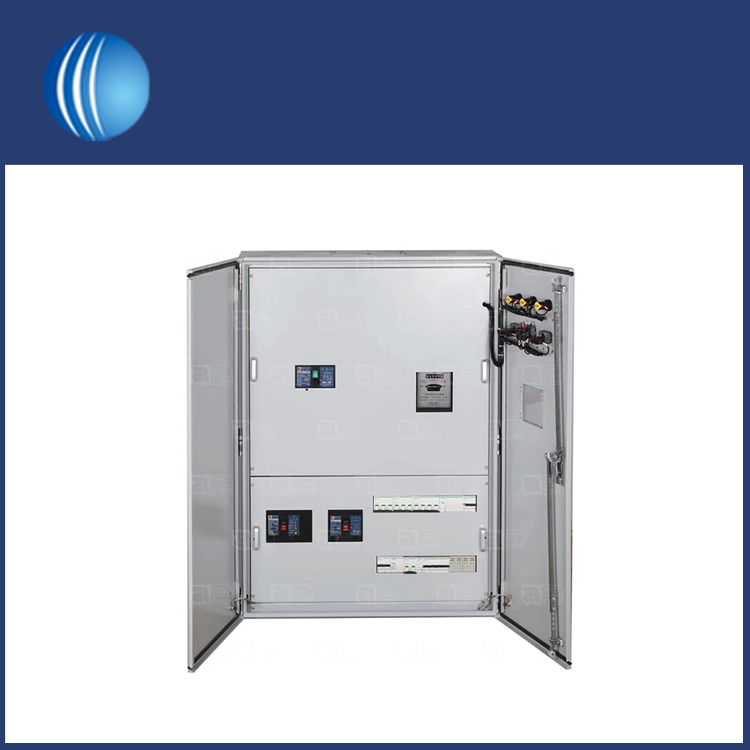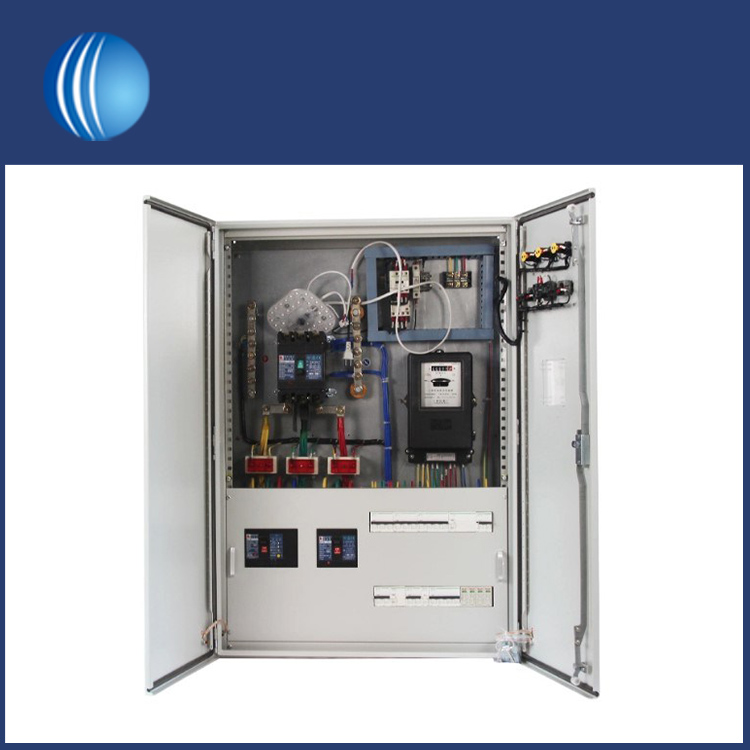
Shouke® offers you a reliable and robust outdoor electrical enclosure. Outdoor electrical enclosure cabinets play a key role in protecting electrical equipment from weather damage, vandalism and theft.
The production process for Outdoor electrical enclosure cabinets from Shouke® is highly technical and requires a high degree of precision and attention to detail. From selecting the right materials, using advanced machinery, protective coatings to customising features to meet customer needs, the end product is a high quality, durable and safe outdoor electrical enclosure.
Step 1: Determine Design Requirements
To build the perfect Outdoor electrical enclosure cabinet, you need to understand the design requirements for the size, shape and layout of the enclosure. Consider the electrical equipment that will go into the enclosure and calculate the amount of space required for the equipment.
Step 2: Choosing the right materials
The production of Outdoor electrical enclosure cabinets begins with the selection of quality materials. Outdoor electrical enclosures come in a variety of materials such as steel, aluminium, plastic or fibreglass. You need to select the material based on the following considerations:
1. resistance to weather conditions
2. Corrosion resistance
3. longevity
4. Weight and durability
5. Cost

Step 3: Create Blueprints
Create a detailed blueprint of the Outdoor electrical enclosure cabinet based on the design requirements and materials selected. The blueprints include all dimensions, material types and necessary accessories provided by the customer.
Step 4: Cutting of Outdoor electrical enclosure cabinet the material
Using the blueprints, the material is measured and cut into the necessary sizes and shapes, which are cut, bent and moulded using state-of-the-art machinery. This ensures that the shell is precise, consistent in shape, and provides a perfect fit for its intended use. Ensure that appropriate protective equipment such as gloves and goggles are used when performing this operation.
Step 5: Welding and assembling the Outdoor electrical enclosure cabinet
After cutting the material, begin welding and assembling the housing using the necessary accessories. Use techniques such as spot welding or TIG welding to weld the various parts of the housing together, carefully soldering all joints and making sure all corners are perfectly aligned. And apply a protective coating to the enclosure to prevent rust.
Step 6: Installation of electrical components
At this stage, install all electrical components in the Outdoor electrical enclosure cabinet, including the cable sealing sleeves, internal lights and power sockets. Ensure that all connections are tight. The enclosure can be fitted with locks, hinges, ventilation systems, access ports and other devices according to the specific needs of the customer.
Step 7: Testing the enclosure
After assembling and installing all electrical components, test the functionality of the Outdoor electrical enclosure cabinet. Check for any problems such as power shortages or improperly installed components.
Step 8: Install the Enclosure
The final step is to install the fully assembled and tested electrical enclosure in the desired location. Be sure to use the correct foundation to ensure durability.
Our Outdoor electrical enclosure cabinets are perfect for a range of applications, including the telecoms industry, energy, transport and many other industrial applications that require a high level of protection for sensitive electronic equipment. Contact us today and let our team of experts help you choose the right outdoor electrical enclosure for your specific needs.
